Facebook Pixel

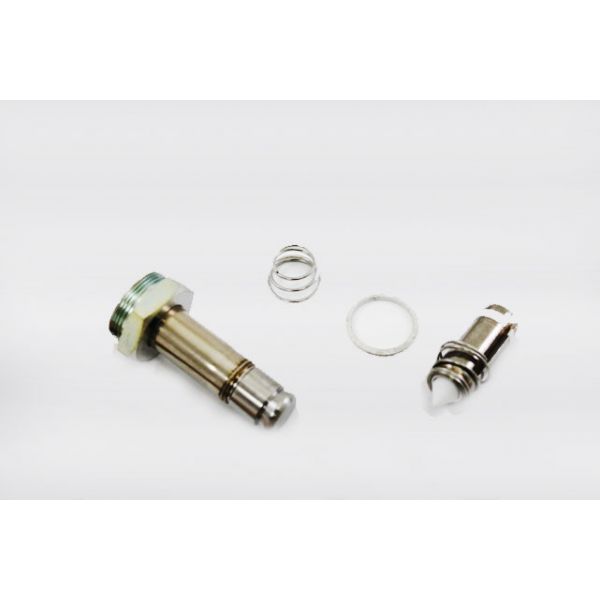
ASCO 325-037-LT Repair Kit

Special Price $352.54 Regular Price $391.31
In stock
SKU
325-037-LT

The ASCO 325-037-LT Repair Kit is a critical component used in HVAC (Heating, Ventilation, and Air Conditioning) systems to repair and maintain solenoid valves. This kit includes all of the parts and components needed to refurbish and restore the functionality of ASCO 325 series solenoid valves, resulting in optimal performance and reliability. Solenoid valves are commonly used in HVAC equipment such as air conditioning units, refrigeration systems, and heating boilers to control the flow of fluids or gases. HVAC technicians can use the ASCO 325-037-LT Repair Kit to quickly and efficiently repair malfunctioning solenoid valves, reducing downtime and avoiding expensive replacements. This kit provides the convenience of having all the necessary repair parts in one package, streamlining the maintenance process, and allowing HVAC systems.

Manufacturer:
https://www.partshnc.com/media/catalog/product/3/2/325-037-lt_asco_partshnc.jpg
Manufacturer Name: ASCO
Product Number: 325-037-LT
OEM Part Number: 325-037-LT
Product Description: Repair Kit
Weight:0.26lbs/117.93g

Choose the best HVAC equipment parts and supplies from PartsHNC!

  • Same Day Shipping

  • Best Quality And Best Price

  • Wide Range of Inventory

  • Best Customer Service

Have More Questions or Need Help to Place The Order?
Reach us at (866)773-0907 or [email protected]

Write Your Own Review
You're reviewing:ASCO 325-037-LT Repair Kit
Your Rating
Customer Questions
What maintenance is required for the ASCO 325-037-LT Repair Kit?

Regularly inspect seals, diaphragms, and internal components installed from the kit for damage, cracking, or deformation. Ensure the valve body is clean before fitting new parts to prevent contamination. Follow proper torque guidelines during reassembly to avoid leakage. Always isolate and depressurize the system before performing maintenance.

What are common issues with the ASCO 325-037-LT Repair Kit?

  • Seal leakage after installation.
  • Improper diaphragm seating causing valve malfunction.
  • Wear due to contaminated media.
  • Incorrect fit from improper assembly.

Installation Steps

Step 1: Shut off power and isolate the valve from the system pressure.

Step 2: Disassemble the valve according to the service manual.

Step 3: Remove worn seals, gaskets, diaphragms, and internal components.

Step 4: Clean all valve parts and inspect for damage or excessive wear.

Step 5: Install the replacement components from the repair kit in their original locations.

Step 6: Reassemble the valve, restore power and pressure, and check for proper operation and leaks.