Facebook Pixel

Bacharach 3015-8004 H-10 PRO Refrigerant Leak Detector W/Charger

Special Price $713.70 Regular Price $792.21
In stock
SKU
3015-8004
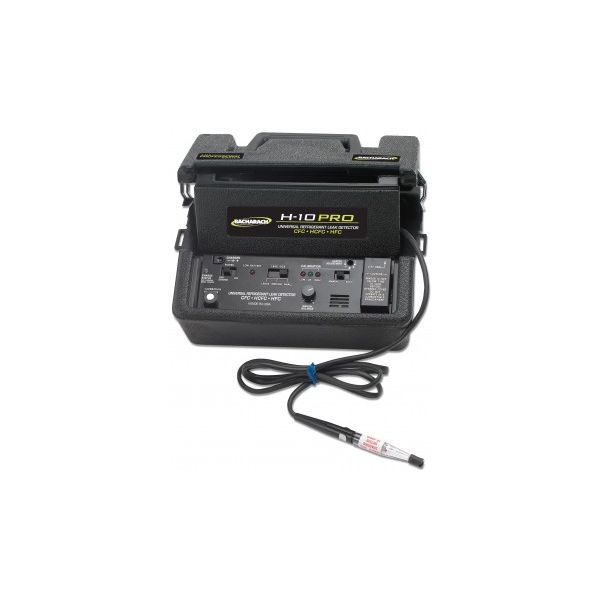
The Bacharach 3015-8004 H-10 PRO Refrigerant Leak Detector W/Charger is a diagnostic part that is a handheld product and is used to identify refrigerant leakages in HVAC systems. In the course of installation, maintenance, and repair, and it detects the presence of the refrigerant gas in traces and warns the user about the leakage. This detector is useful in making sure the system is sound, in maintaining the proper charge of refrigerant within the system, and in ensuring efficient and conditionally acceptable performance in cooling systems.
Manufacturer:
https://www.partshnc.com/media/catalog/product/3/0/3015-8004_bacharach_partshnc.jpg
Manufacturer Name: Bacharach
Product Number: 3015-8004
OEM Part Number: 3015-8004
Product Description: H10 Pro Refrigerant Leak Detector With Charger
Weight:8lbs/3628.74g

Choose the best HVAC equipment parts and supplies from PartsHnC!

  • Same Day Shipping

  • Best Quality And Best Price

  • Wide Range of Inventory

  • Best Customer Service

Have More Questions or Need Help to Place The Order?
Reach us at (866)773-0907 or [email protected]

Write Your Own Review
You're reviewing:Bacharach 3015-8004 H-10 PRO Refrigerant Leak Detector W/Charger
Your Rating
Customer Questions
What maintenance is required for the Bacharach 3015-8004 Refrigerant Leak Detector?

Regularly clean the sensor and probe to prevent false readings. Check battery levels and charge as needed. Inspect the system for physical damage or loose connections. Store in dry conditions to maintain accuracy.

What are common issues with the Bacharach 3015-8004 Refrigerant Leak Detector?

  • False positives or missed leaks.
  • Weak or inconsistent sensor response.
  • Battery or charging problems.
  • Damage to probe or sensor from rough handling.

Installation Steps

Step 1: Charge the detector fully using supplied charger and inspect probe for damage before use.

Step 2: Attach sensing tip, power on, and allow warm-up until stable indicator shows ready.

Step 3: Calibrate in clean air away from refrigerants or contaminants for an accurate baseline.

Step 4: Set sensitivity level based on environment and slowly scan suspected leak areas.

Step 5: Move probe steadily, avoid touching surfaces and ensure proper ventilation.