
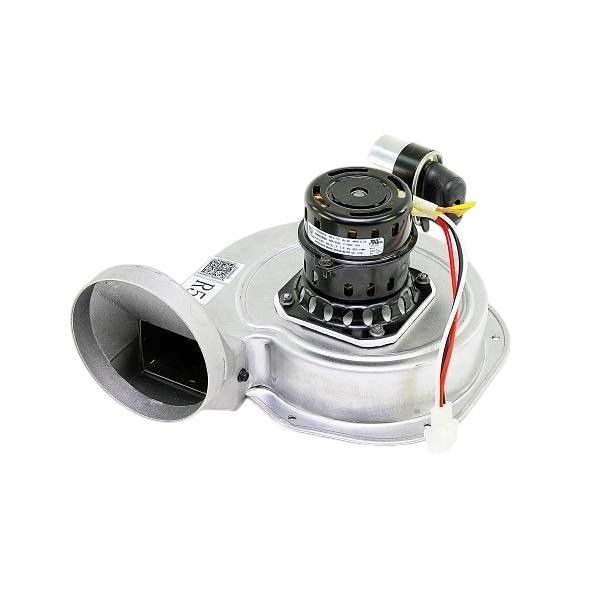
Trane BLW1322 2-Stage Induced Draft Blower Assembly
Special Price $322.46 Regular Price $357.93
In stock
SKU
BLW1322

The Trane BLW1322 is a 2-stage induced draft blower assembly, an essentialpart of your furnace. The two-stage design means that the blower can either be run at low speeds or at high speeds depending on the need. It allows for variation of the furnace by way of heating requirements for the house. At low heating requirements, the blower operates at low rpm and with low noise output, thus being energy efficient. When more heat is needed then the blower starts working at high speed to provide the necessary heat. This replacement part has the dimensions of about 12.5” width by 14.3” length by 7.1” height and is used in specific Trane furnaces only.
Manufacturer:

Specifications
- Length: 6
- Weight: 4.24lbs
- Enclosure Type: Open
- Frequency: 60 Hz
- Number of Phase: 1
- Number of Speeds: 2
- Rotation: CW
- Speed: 3,000-2,400 RPM Voltage (VAC): 115 V