Facebook Pixel

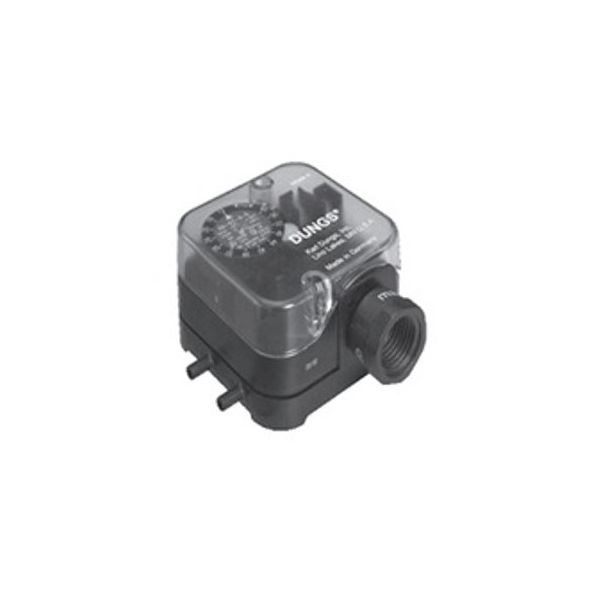
Dungs Pressure Switches 266911 5/32" Air Pressure Switch 0.4-4" WC

Special Price $95.54 Regular Price $109.88
Out of stock
SKU
266911
The Dungs Pressure Switches 266911 Air Pressure Switch is a control part that regulates the combustion and ventilation circuits used in HVAC systems. It operates on a diaphragm and spring system where pressure differentials in the given range of 0.4 to 4 inches of water column are detected and a contact signal is relayed to the control system when thresholds are reached. It is used in furnaces, air handlers, and boiler venting systems and is connected to draft air pathways by 5/32-inch tubing.
https://www.partshnc.com/media/catalog/product/2/6/266911_dungs-pressure-switches_partshnc.jpg
Manufacturer Name: Dungs Pressure Switches
Product Number: 266911
OEM Part Number: 266911
Product Description: .4-4 Inch Wc 5/32 Inch Air Switch
Weight:0.46lbs/208.65g

Choose the best HVAC equipment parts and supplies from PartsHnC!

  • Same Day Shipping

  • Best Quality And Best Price

  • Wide Range of Inventory

  • Best Customer Service

Have More Questions or Need Help to Place The Order?
Reach us at (866)773-0907 or [email protected]

Write Your Own Review
You're reviewing:Dungs Pressure Switches 266911 5/32" Air Pressure Switch 0.4-4" WC
Your Rating
Customer Questions
What maintenance is required for the Dungs Pressure Switches 266911 Air Pressure Switch?

Regularly inspect the switch for dust, debris, and secure tubing connections. Test pressure settings periodically to ensure accuracy. Clean any build-up around the diaphragm and avoid exposure to corrosive environments. Proper care ensures accurate operation.

What are common issues with the Dungs Pressure Switches 266911 Air Pressure Switch?

  • Inaccurate pressure readings.
  • Diaphragm wear or rupture.
  • Blocked or disconnected tubing.
  • Failure to actuate at set pressure.

Installation Steps

Step 1: Turn off equipment power and isolate the air/gas supply before starting.

Step 2: Mount the pressure switch in the correct orientation using the provided bracket or fittings.

Step 3: Connect the tubing securely to the pressure port, ensuring no leaks.

Step 4: Wire the switch terminals according to the equipment wiring diagram.

Step 5: Restore power, adjust setpoint within range, and test operation for proper switching response.