Facebook Pixel

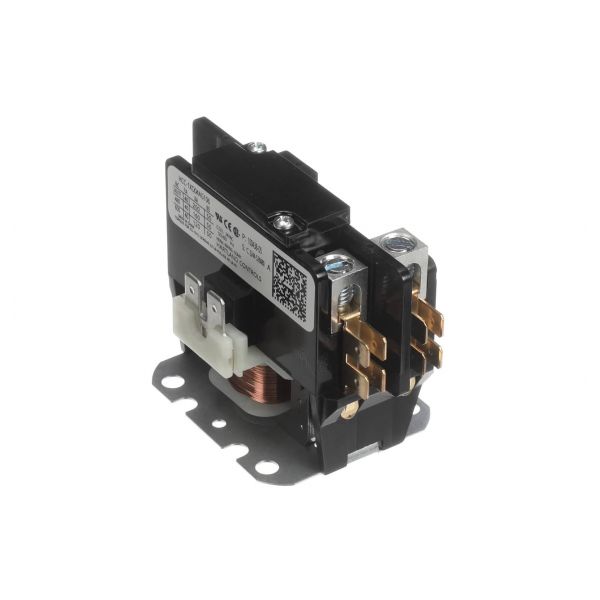
Lennox 10F74 1-Pole Definite Purpose Contactor 40A 24V Coil

Special Price $40.95 Regular Price $54.95
In stock
SKU
10F74
The Lennox 10F74 is a definite-purpose contactor and is essential to many Lennox HVAC systems. It acts as a heavy duty switch, controlled by a low voltage 24V AC coil on a high power circuit. The coil provides magnetically operated current contacts that open and close when energized, to turn ON or OFF connected equipment. Rated for 40 Amps, the 10F74 is typically rated to handle large electrical loads present in compressors, heaters or ventilation systems. The contactor works for 50Hz and 60Hz frequencies, similarly to most electrical grids. Replacing a bad contactor puts power back into your HVAC system and keeps it running efficiently.
Manufacturer:

https://www.partshnc.com/media/catalog/product/1/0/10f74.jpg

Specifications

  • Voltage: 24V
  • Weight: 0.53lbs
  • Ampere: 40 Amp
  • Frequency: 50/60Hz
  • Type: Definite Purpose Contactor
  • Width: 3.26 Inch
  • Height: 2 Inch
  • Measure: Unit
Manufacturer Name: Lennox
Product Number: 10F74
OEM Part Number: 10F74
Product Description: 24V Coil 1P 40Amp Cont
Weight:0.53lbs/240.4g

Choose the best HVAC equipment parts and supplies from PartsHnC!

  • Same Day Shipping

  • Best Quality And Best Price

  • Wide Range of Inventory

  • Best Customer Service

Have More Questions or Need Help to Place The Order?
Reach us at (866)773-0907 or [email protected]

Write Your Own Review
You're reviewing:Lennox 10F74 1-Pole Definite Purpose Contactor 40A 24V Coil
Your Rating
Customer Questions
What maintenance is required for the Lennox 10F74 Definite Purpose Contactor?

Inspect the contactor regularly for signs of pitting, corrosion, or overheating. Ensure the coil voltage matches specifications and connections are tight. Clean debris from the unit, and always turn off power before performing any checks for safety.

What are common issues with the Lennox 10F74 Definite Purpose Contactor?

  • Contacts sticking or failing to close fully.
  • Coil burnout or insufficient activation voltage.
  • Buzzing or humming during operation.
  • Loose terminals causing intermittent connections.

Installation Steps

Step 1: Turn off all power at the breaker to prevent electric shock.

Step 2: Mount the contactor securely on a stable surface or panel.

Step 3: Connect the line and load wires to the correct terminals, matching polarity.

Step 4: Wire the control coil according to the control circuit diagram.

Step 5: Ensure all connections are tight and properly insulated.

Step 6: Replace any covers and restore power.

Step 7: Test operation to confirm the contactor switches correctly.