Facebook Pixel

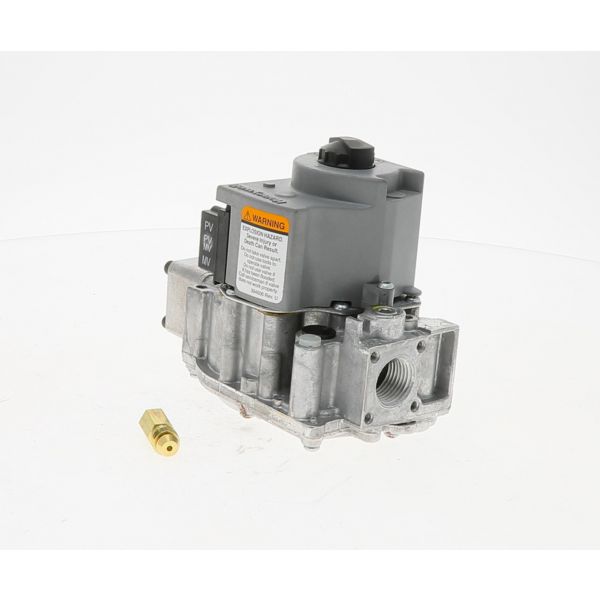
Utica-Dunkirk 550002740 3/4" X 1/2" LP Gas Valve 10" WC 24V

Special Price $243.12 Regular Price $269.87
In stock
SKU
550002740
The Utica-Dunkirk 550002740 Gas Valve is designed to provide a consistent and accurate control of LP gas to the HVAC systems. It controls the gas pressure to 10” WC with the use of 24V power for steady combustion. The 3/4” inlet is the gas inlet that flows through the valve and exits through the 1/2” outlet to ensure that the burner is always on. This valve is especially used in furnaces and boilers that use liquid propane as a medium of operation. Advantages include increased energy saving, safer control of the gas, and better integration into the heating systems.
Manufacturer:
https://www.partshnc.com/media/catalog/product/5/5/550002740.jpg

Specifications

  • Type: Gas Valve
  • Fuel Type: Liquid Propane
  • Inlet Connection: 3/4"
  • Outlet Connection: 1/2"
  • Voltage: 24V
  • Pressure Range: 10" WC
Manufacturer Name: Utica-Dunkirk
Product Number: 550002740
OEM Part Number: 550002740
Product Description: 24V 10 Wc Lp 3/4"X1/2" Gas Vlv
Weight:2.22lbs/1006.97g

Choose the best HVAC equipment parts and supplies from PartsHnC!

  • Same Day Shipping

  • Best Quality And Best Price

  • Wide Range of Inventory

  • Best Customer Service

Have More Questions or Need Help to Place The Order?
Reach us at (866)773-0907 or [email protected]

Write Your Own Review
You're reviewing:Utica-Dunkirk 550002740 3/4" X 1/2" LP Gas Valve 10" WC 24V
Your Rating
Customer Questions
What maintenance is required for the Utica-Dunkirk 550002740 LP Gas Valve?

Check the valve periodically for gas tightness, electrical integrity, and signs of wear. Clean external surfaces to avoid dust buildup and ensure proper airflow. Verify voltage supply stability and test operation during regular system servicing to maintain better and efficient operation.

What are common issues with the Utica-Dunkirk 550002740 LP Gas Valve?

  • Failure to activate due to faulty solenoid coil.
  • Gas leakage from deteriorated seals or fittings.
  • Reduced flow or inconsistent burner ignition.
  • Electrical connection failure causing intermittent shutdowns.

Installation Steps

Step 1: Shut off gas supply and disconnect power before starting.

Step 2: Ventilate area and confirm no gas presence using approved leak check method.

Step 3: Remove existing valve and clean pipe threads for proper sealing.

Step 4: Place new valve in correct flow direction and tighten fittings securely.

Step 5: Connect control wiring to labeled terminals with firm insulated connections.

Step 6: Restore gas and power, then test for leaks and check better ignition under controlled conditions.