
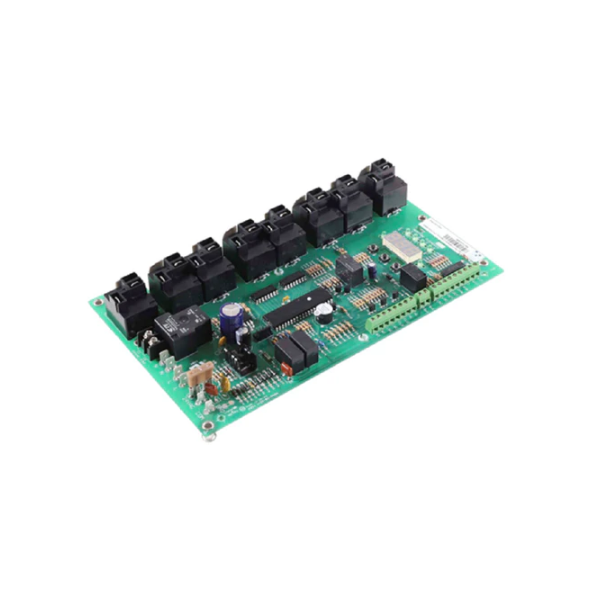
Utica-Dunkirk 240009669 Control Board
Special Price $305.42 Regular Price $339.01
In stock
SKU
240009669

The Utica-Dunkirk 240009669 Control Board is an electronic component used to regulate the operation sequences in residential and light commercial HVAC systems. It executes by taking the input of safety sensors and the thermostats gives commands to ignition, blower, and fuel valve controls to ensure that correct heating cycles are achieved. It is mounted in the furnace cabinet, and it connects to wiring harnesses and system components. It allows for support of startup and shutdown processes and allow efficient combustion and airflow control as thermal loads in a heating system.
Manufacturer:
