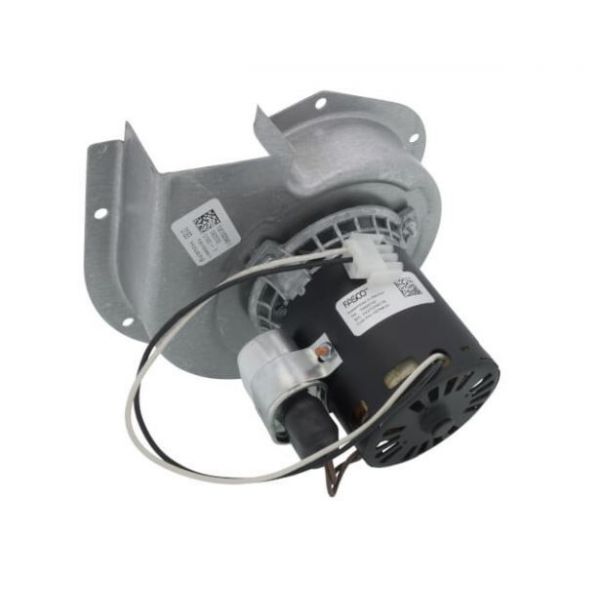
Lennox 19W04 1-Speed Inducer Assembly 230V

An essential element within HVAC setups, the Lennox 19W04 230V 1Spd Inducer Assembly plays a pivotal role in effectively removing exhaust fumes originating from the combustion chamber. Operating at a voltage of 230V and featuring a single speed, this assembly is typically utilized in furnaces and heating units. Its main role involves generating a draft to aid in the expulsion of combustion byproducts, thereby guaranteeing adequate ventilation. Through its efficient venting of gases, the 19W04 inducer assembly plays a crucial part in upholding the safety and effectiveness of the heating system's operation. Its reliable performance enhances the overall efficiency and longevity of the HVAC equipment, while also promoting a healthier indoor environment by preventing the buildup of harmful gases.