Facebook Pixel

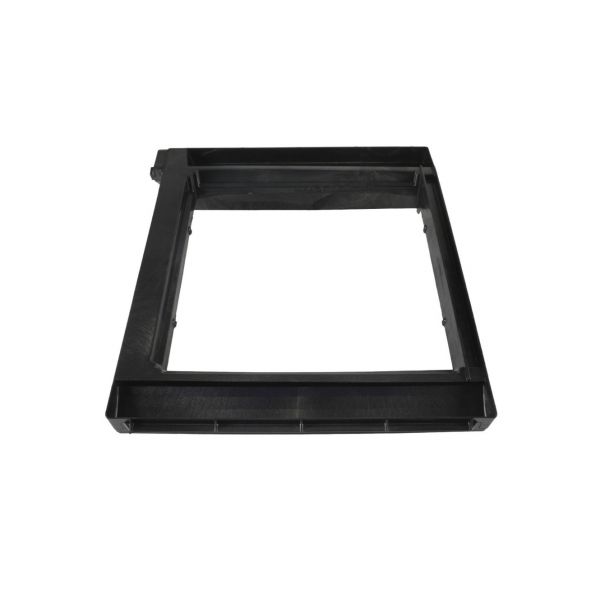
Trane PAN1071 Drain Pan 20.22" x 21.64" x 6"

Special Price $146.50 Regular Price $168.47
In stock
SKU
PAN1071
The Trane PAN1071 Drain Pan is a specially manufactured drain pan for Trane HVAC products and equipment. It is thought of as a shallow tray, with standard dimensions being 520mm long by 546mm wide and 152mm deep, placed under the evaporator coil in the unit. In operation, cool air is generated, and moisture in the surrounding area forms on the coil. It is designed to collect this condensate water so that it does not drip over other parts or leak through the unit. It protects from water harm and assists it to work optimally.
Manufacturer:

https://www.partshnc.com/media/catalog/product/p/a/pan1071.jpg

Specifications

  • Length: 23.2"
  • Weight: 5.14 lbs
Manufacturer Name: Trane
Product Number: PAN1071
OEM Part Number: PAN1071
Product Description: 20.22"X21.64"X6"Evap Drain Pan
Weight:5.14lbs/2331.46g

Choose the best HVAC equipment parts and supplies from PartsHnC!

  • Same Day Shipping

  • Best Quality And Best Price

  • Wide Range of Inventory

  • Best Customer Service

Have More Questions or Need Help to Place The Order?
Reach us at (866)773-0907 or [email protected]

Write Your Own Review
You're reviewing:Trane PAN1071 Drain Pan 20.22" x 21.64" x 6"
Your Rating
Customer Questions
What maintenance is required for the Trane PAN1071 Drain Pan?

Inspect the drain pan regularly for rust, cracks, or clogging to ensure proper condensate flow. Clean debris and algae buildup periodically. Keeping it clear prevents water overflow and system damage. Ensure proper leveling and secure installation for better operation.

What are common issues with the Trane PAN1071 Drain Pan?

  • Rust or corrosion on metal pan.
  • Clogging from dirt, algae, or debris.
  • Cracks or leaks causing water overflow.
  • Improper installation leading to poor drainage.
  • Reduced cooling efficiency due to standing water.
  • Odor formation from stagnant moisture.

Installation Steps

Step 1: Turn off HVAC power and ensure unit is fully de-energized before servicing.

Step 2: Remove access panel and carefully take out the old drain pan, clearing any debris.

Step 3: Position the new drain pan in the same location, aligning with coil and condensate outlet.

Step 4: Connect drain line securely, ensuring proper slope for water flow and no leaks.

Step 5: Seal mounting points if required to prevent air or water bypass.

Step 6: Restore power and check for proper drainage and no overflow during operation.