Facebook Pixel

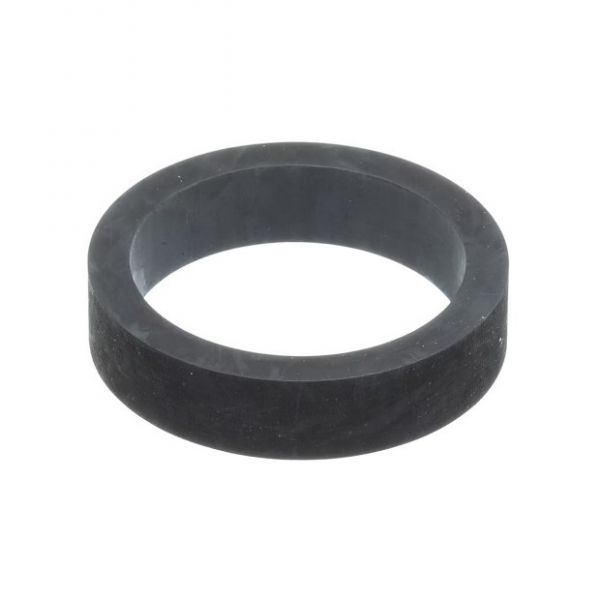
Lochinvar & A.O. Smith 100208100 2" Flange Gasket

Special Price $25.63 Regular Price $33.32
In stock
SKU
100208100
The Lochinvar & A.O. Smith 100208100 Gasket is a seal element, which is used to form a leak-resistant connection between two flanged pipes or parts of equipment. It can be placed between the 2-inch flange faces and compressed when the fasteners are tightened to create a tight seal when it is used in boilers, water heaters, and hydronic HVAC systems. Installation of the gasket is done by laying it flat between the matching parts of the flanges, and then tightening the bolts and this ensures that there is no leakage of fluids and it enables reliable functioning of the system.
https://www.partshnc.com/media/catalog/product/1/0/100208100_lochinvar--a.o.-smith_partshnc_1.png
Manufacturer Name: Lochinvar & A.O. Smith
Product Number: 100208100
OEM Part Number: 100208100
Product Description: 2" Flange Gasket
Weight:0.06lbs/27.22g

Choose the best HVAC equipment parts and supplies from PartsHnC!

  • Same Day Shipping

  • Best Quality And Best Price

  • Wide Range of Inventory

  • Best Customer Service

Have More Questions or Need Help to Place The Order?
Reach us at (866)773-0907 or [email protected]

Write Your Own Review
You're reviewing:Lochinvar & A.O. Smith 100208100 2" Flange Gasket
Your Rating
Customer Questions
What maintenance is required for the Lochinvar & A.O. Smith 100208100 Flange Gasket?

Inspect the gasket regularly for wear, cracking, or compression damage. Keep flange surfaces clean and free of debris to ensure a proper seal. Replace the gasket if leaks or deformation appear. Avoid overtightening during installation to prevent damage.

What are common issues with the Lochinvar & A.O. Smith 100208100 Flange Gasket?

  • Leaks due to seal failure.
  • Compression set or hardening.
  • Improper fit causing seepage.
  • Cracking from heat or chemical exposure.
  • Flange misalignment causing uneven sealing.
  • Gasket wear from overcompression leading to loss of elasticity.

Installation Steps

Step 1: Turn off system and relieve pressure from piping before opening any flange joint.

Step 2: Remove flange bolts and separate mating surfaces carefully without damaging faces.

Step 3: Clean both flange surfaces thoroughly, removing old gasket material and debris.

Step 4: Place new gasket centered on the flange, ensuring correct alignment with bolt holes.

Step 5: Rejoin flanges and tighten bolts evenly in a cross pattern to ensure uniform seal.

Step 6: Restore system pressure gradually and inspect for leaks around the joint.