
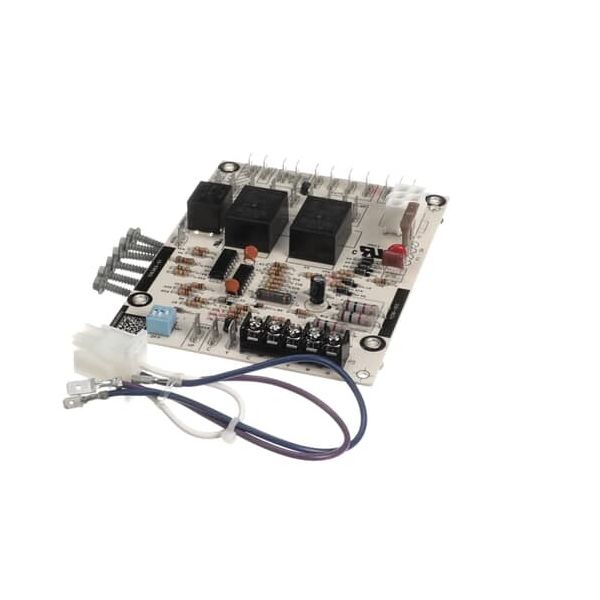
Lennox 19S83 Fan Control Board BCC3
Special Price $196.59 Regular Price $226.08
In stock
SKU
19S83

The Lennox 19S83 Fan Control Board BCC3 functions as a essential element for HVAC systems to manage fan motor operations which results in ideal airflow together with temperature regulation. Through its role as fan control board the device manages fan operation times during heating and cooling cycles to protect system components while improving energy efficiency. The BCC3 functions with different heating and cooling units to enhance system performance through dependable fan speed control and decreased equipment wear while extending HVAC system equipment life. The component provides two main benefits which include stable indoor comfort alongside reduced energy expenses.
Manufacturer:

Specifications
- Type: Fan Control Board
- Model: BCC3