
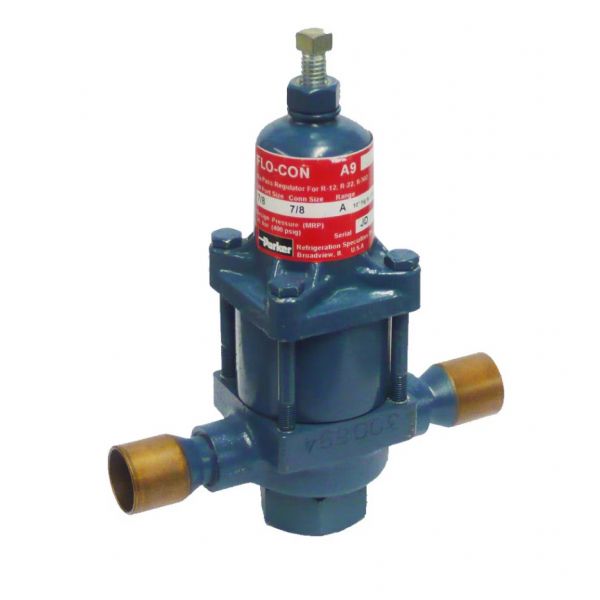
Parker Refrigeration Specialties 186327 Refrigeration Pressure Control Valve 7/8" ODF 7/8" Port 10" 120 PSI A9E
Special Price $846.75 Regular Price $939.90
In stock
SKU
186327

The Parker Refrigeration Specialties 186327 A9E Refrigeration Pressure Control Valve is an accurate control part used in HVAC system. It has a 7/8” ODF connection and operates within the pressure range of 10”HG to 120 PSIG to enhance the performance of the system. This is suitable for commercial refrigerator, chiller and air conditioning systems, which can reduce pressure fluctuation, improve system stability and performance. This makes it to have a long durability and it will not require frequent replacement. It enhances cooling efficiency, durability of equipment and energy efficiency.
Manufacturer:

Specifications
- Type: Pressure Control
- Port Size: 7/8"
- Connection Type: 7/8" ODF
- Pressure: 10" HG to 120 PSIG
- Model: A9E