Facebook Pixel

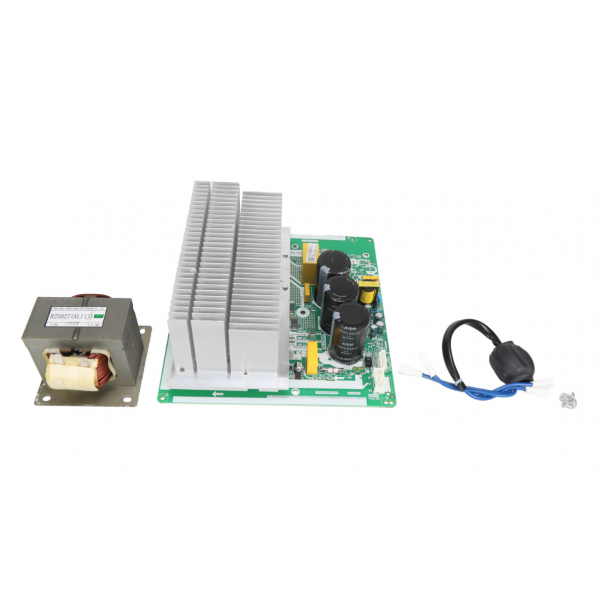
International Comfort Products 17222000A64034 Inverter Control Board Assembly

Special Price $520.10 Regular Price $577.31
Out of stock
SKU
17222000A64034
The International Comfort Products 17222000A64034 Inverter Control Board Assembly is an essential component in HVAC systems especially those that use the inverter technology. This complex board gives the role of the central nervous system of the system controlling the speed and functioning of the compressor. As the inverter control board modulates the compressor output according to the actual heating and cooling loads, the following advantages are attained, better efficiency due to load matching, better comfort due to the absence of temperature swings.

https://www.partshnc.com/media/catalog/product/1/7/17222000a64034_-_nc.png

Specifications

  • Type: Inverter Control Board Assembly
    Write Your Own Review
    You're reviewing:International Comfort Products 17222000A64034 Inverter Control Board Assembly
    Your Rating
    Customer Questions
    What maintenance is required for the International Comfort Products 17222000A64034 Control Board Assembly?

    Regularly inspect the control board assembly for dust, debris, or corrosion and gently clean with compressed air. Ensure all electrical connections and harnesses are secure. Periodic checks help prevent shorts, circuit errors, and maintain accurate inverter performance.

    What are common issues with the International Comfort Products 17222000A64034 Control Board Assembly?

    • Fault codes caused by sensor communication errors.
    • Overheating from restricted ventilation.
    • Connector pins bending or contamination.
    • Erratic inverter output causing performance fluctuations.

    Installation Steps

    Step 1: Power off the HVAC unit at the breaker to ensure safety.

    Step 2: Open the access panel to locate the existing control board.

    Step 3: Disconnect all wiring carefully, labeling connections for reference.

    Step 4: Remove the old control board and mount the new board securely.

    Step 5: Reconnect wires according to labels and unit diagram.

    Step 6: Close the panel, restore power, and test system operation.