Facebook Pixel

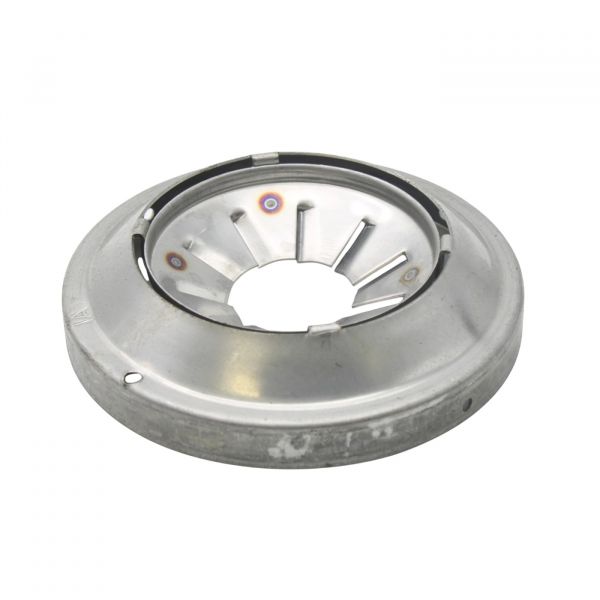
Wayne Combustion 14157 Air Cone

Special Price $21.03 Regular Price $27.34
In stock
SKU
14157
The Wayne Combustion 14157 Air Cone is a flow-regulating component used in HVAC systems burners to maximize the air and fuel mixture. It operates by controlling the flow of combustion air to ensure homogeneous combustion as well as constant flame operations. The cone is installed in the burner assembly repaired so that the airflow is directed in the same motion. In the system, it allows for effective combustion of fuel and minimizes instability which may occur in the generate of heat. The air cone can be used in residential and commercial gas-fired heating equipment in HVAC systems.
Manufacturer:

https://www.partshnc.com/media/catalog/product/1/4/14157_1.jpg
Manufacturer Name: Wayne Combustion
Product Number: 14157
OEM Part Number: 14157
Product Description: Air Cone
Weight:0.19lbs/86.18g

Choose the best HVAC equipment parts and supplies from PartsHnC!

  • Same Day Shipping

  • Best Quality And Best Price

  • Wide Range of Inventory

  • Best Customer Service

Have More Questions or Need Help to Place The Order?
Reach us at (866)773-0907 or [email protected]

Write Your Own Review
You're reviewing:Wayne Combustion 14157 Air Cone
Your Rating
Customer Questions
What maintenance is required for the Wayne Combustion 14157 Air Cone?

Regularly inspect the air cone for dust, debris, or cracks. Ensure it is securely mounted and airflow is not obstructed. Proper maintenance ensures consistent air delivery, prevents operational issues, and maintains safe and efficient performance.

What are common issues with the Wayne Combustion 14157 Air Cone?

  • Cracks or physical damage.
  • Obstructed or reduced airflow.
  • Loose or misaligned mounting.
  • Wear or deterioration affecting performance.

Installation Steps

Step 1: Turn off power and fuel supply before starting.

Step 2: Remove the old air cone, noting its orientation and mounting position.

Step 3: Mount the new air cone securely on the burner assembly.

Step 4: Ensure proper alignment with the burner throat for optimal airflow.

Step 5: Tighten mounting screws without over-torquing.

Step 6: Check that the cone spins or moves freely if applicable.

Step 7: Restore power and fuel supply, then test burner operation.