Facebook Pixel

Parker Fluid Control 12F23C2148ACFR 3/4" Valve Repair Kit

Special Price $144.93 Regular Price $166.67
In stock
SKU
12F23C2148ACFR
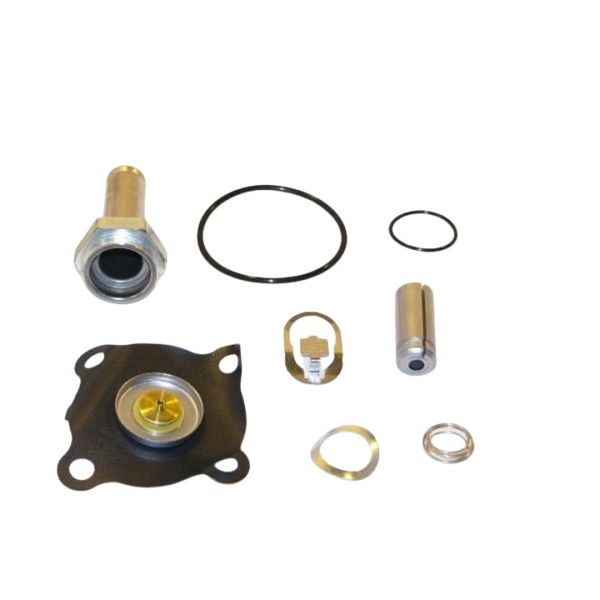
Parker Fluid Control 12F23C2148ACFR 3/4″ Valve Repair kit is for the repair of solenoid valves in HVAC systems. In this kit are the components to restore valve functionality, so that fluid control in heating, ventilation, and air conditioning equipment is efficient. This repair kit is designed for regular use and helps in preventing leakage and prolonging the life of the HVAC unit. This repair kit ensures energy efficiency and consistent condition control in HVAC system applications valves in high condition.
https://www.partshnc.com/media/catalog/product/1/2/12f23c2148acfr_1.jpg

Specifications

  • Type: Valve Repair Kit
  • Connection Size: 3/4"
Manufacturer Name: Parker Fluid Control
Product Number: 12F23C2148ACFR
OEM Part Number: 12F23C2148ACFR
Product Description: 3/4"Valve Repair Kit
Weight:0.3lbs/136.08g

Choose the best HVAC equipment parts and supplies from PartsHnC!

  • Same Day Shipping

  • Best Quality And Best Price

  • Wide Range of Inventory

  • Best Customer Service

Have More Questions or Need Help to Place The Order?
Reach us at (866)773-0907 or [email protected]

Write Your Own Review
You're reviewing:Parker Fluid Control 12F23C2148ACFR 3/4" Valve Repair Kit
Your Rating
Customer Questions
What maintenance is required for the Parker Fluid Control 12F23C2148ACFR Valve Repair Kit?

Regularly inspect valve components for wear, corrosion, or debris. Replace seals, O-rings, and other parts as needed to ensure proper operation. Clean parts before reassembly and lubricate moving components lightly. Always depressurize the system before performing maintenance for safety.

What are common issues with the Parker Fluid Control 12F23C2148ACFR Valve Repair Kit?

  • Leaks due to worn seals or gaskets.
  • Difficulty in valve operation.
  • Corrosion on metal components.
  • Improper sealing causing fluid bypass.

Installation Steps

Step1: Turn off system pressure and isolate the valve before starting.

Step2: Relieve residual pressure and drain fluid from the line.

Step3: Remove the old valve components per manufacturer’s diagram.

Step4: Clean valve body and inspect for damage.

Step5: Install replacement seals and parts from the repair kit correctly.

Step6: Reassemble the valve and tighten fittings without over‑torquing.

Step7: Restore pressure and test for leaks and proper operation.

Step8: Follow safety precautions when working with pressurized systems.