Facebook Pixel

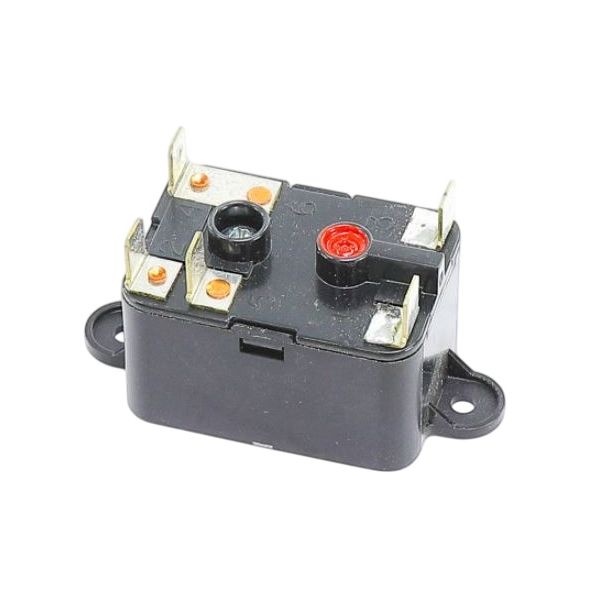
Reznor 263530 Coil Relay 120V

Special Price $71.66 Regular Price $82.41
In stock
SKU
263530
The Reznor 263530 Relay 120V Coil manages circuit activation by transferring electrical signals between control sections and connected operating activities. It responds to incoming control input by switching contacts that regulate power flow to motors, fans, and other electrical loads. Integrated into HVAC systems, the relay supports coordinated operation within heating and ventilation units where timed electrical response and controlled switching are required. It delivers accurate signal response, reliable contact, and efficient coordination between connected electrical sections during active operation, allowing safe switching without direct contact between the circuits.
Manufacturer:
https://www.partshnc.com/media/catalog/product/2/6/263530_1.jpg
Manufacturer Name: Reznor
Product Number: 263530
OEM Part Number: 263530
Product Description: 120V Coil Relay
Weight:0.15lbs/68.04g

Choose the best HVAC equipment parts and supplies from PartsHnC!

  • Same Day Shipping

  • Best Quality And Best Price

  • Wide Range of Inventory

  • Best Customer Service

Have More Questions or Need Help to Place The Order?
Reach us at (866)773-0907 or [email protected]

Write Your Own Review
You're reviewing:Reznor 263530 Coil Relay 120V
Your Rating
Customer Questions
What maintenance is required for the Reznor 263530 Relay?

Inspect the relay regularly for loose wiring, burnt contacts, or signs of overheating around the coil terminals. Keep the control compartment clean and free from moisture or dust buildup that may affect electrical performance. Periodically verify proper relay switching operation and disconnect power before servicing HVAC electrical components.

What are common issues with the Reznor 263530 Relay?

  • Relay contacts sticking during operation.
  • Coil failure preventing relay activation.
  • Burnt or pitted electrical contacts.
  • Intermittent HVAC startup or shutdown issues.
  • Buzzing noises from weak coil connection.

Installation Steps

Step 1: Disconnect all electrical power before starting.

Step 2: Mount coil relay securely in control panel or designated housing.

Step 3: Connect coil terminals to control circuit wiring.

Step 4: Wire load contacts according to system diagram.

Step 5: Tighten all terminal connections and inspect for shorts.

Step 6: Restore power and test relay activation and switching.