Facebook Pixel

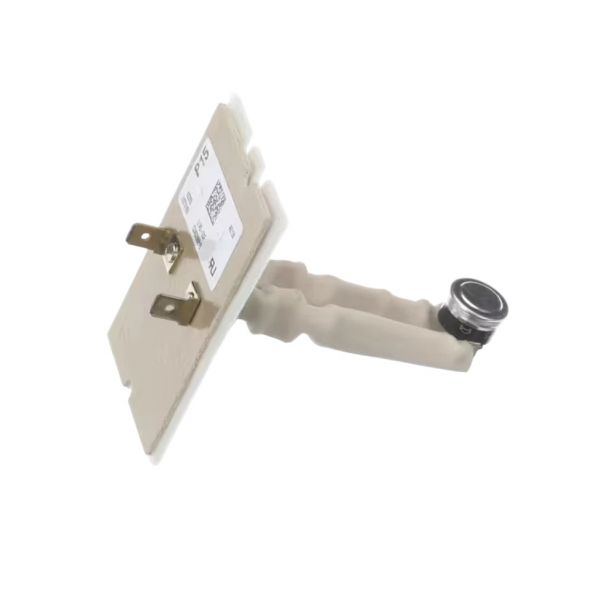
Trane SWT1277 Auto Limit Switch 3" Insert 115°F-145°F

Special Price $74.92 Regular Price $86.16
In stock
SKU
SWT1277
The Trane SWT1277 is an Auto Limit Switch and is a small safety accessory made for equipment of the Trane Heating and Air Conditioning brand. It is approximately three inches in length and regulates the temperature of the system on its own. This switch monitors the temperature in the surroundings. When it gets higher than a certain level for example 145°F in this case, the switch can turn off the electricity. Some of the Trane HVAC systems that require this automatic temperature control include heat pumps, air conditioners, and furnaces. The Insert Auto Limit Switch is useful as it ensures that your HVAC system operates safely and efficiently by not overheating.
https://www.partshnc.com/media/catalog/product/s/w/swt1277_1.jpg

Specifications

  • Weight: 0.17lbs
  • Length: 3.2"
  • Current Rating: 5.8"
  • Height: 3.8"
  • Voltage: 120 V
  • Open Temperature: 145 Degree
  • Temperature Rating:145 Degree
Manufacturer Name: Trane
Product Number: SWT1277
OEM Part Number: SWT1277
Product Description: 115-145F Autolimitsw 3"Insert
Weight:0.17lbs/77.11g

Choose the best HVAC equipment parts and supplies from PartsHnC!

  • Same Day Shipping

  • Best Quality And Best Price

  • Wide Range of Inventory

  • Best Customer Service

Have More Questions or Need Help to Place The Order?
Reach us at (866)773-0907 or [email protected]

Write Your Own Review
You're reviewing:Trane SWT1277 Auto Limit Switch 3" Insert 115°F-145°F
Your Rating
Customer Questions
What maintenance is required for the Trane SWT1277 Auto Limit Switch?

Inspect the limit switch for dust buildup and ensure electrical connections are tight. Clean terminals periodically to maintain accurate sensing. Replace if contacts wear or overheating occurs for better HVAC operation.

What are common issues with the Trane SWT1277 Auto Limit Switch?

  • Inaccurate temperature cutoff due to sensor calibration drift over time.
  • Intermittent switching from worn or pitted electrical contacts.
  • Loose wiring or terminal connections causing inconsistent operation signals.
  • Overheating leading to premature internal component failure.

Installation Steps

Step 1: Turn off electrical power and verify the HVAC unit is fully de-energized before servicing.

Step 2: Remove the access panel and locate the existing limit switch near the heat exchanger.

Step 3: Disconnect wiring terminals carefully, noting original connections for correct reinstallation.

Step 4: Mount the new switch in the same position and ensure proper seating in the sensing bracket.

Step 5: Reconnect wires, restore power, and test system operation to confirm correct automatic temperature cutoff and reset.