Facebook Pixel

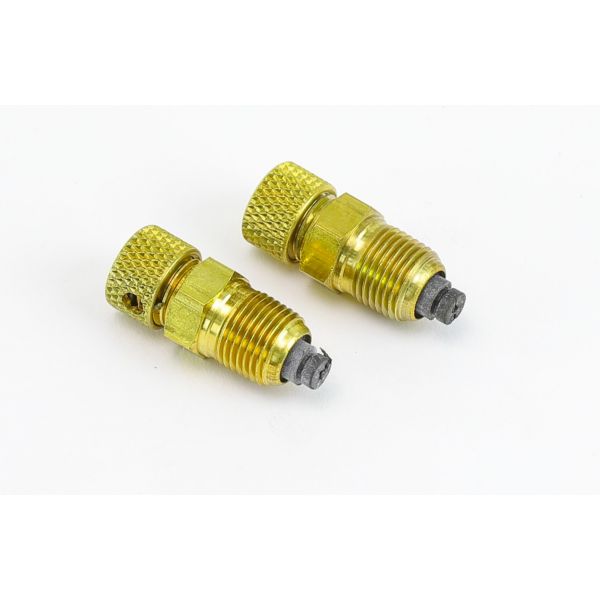
Xylem-Bell & Gossett 113100 Readout Valve Set RV125A 2-Pack

Special Price $55.29 Regular Price $63.58
In stock
SKU
113100
The Xylem-Bell & Gossett 113100 Readout Valve Set RV125A 2-Pack is a vital component of HVAC Systems that works to measure and control fluid performance in hydronic circuits. It enables one to take precise pressure and temperature measurements during system installation and maintenance. It is installed at specific points of test and assists in balancing operations depending on the concept of operation of the network. This quality component is designed to work in normal working conditions, which contributes to the accuracy of the system, enhances the efficiency of its maintenance, and supports stabilizing the work of interconnected equipment.
https://www.partshnc.com/media/catalog/product/1/1/113100.jpg
Manufacturer Name: Xylem-Bell & Gossett
Product Number: 113100
OEM Part Number: 113100
Product Description: Readout Vlv Set (2 Vlvs)Rv125a
Weight:0.08lbs/36.29g

Choose the best HVAC equipment parts and supplies from PartsHnC!

  • Same Day Shipping

  • Best Quality And Best Price

  • Wide Range of Inventory

  • Best Customer Service

Have More Questions or Need Help to Place The Order?
Reach us at (866)773-0907 or [email protected]

Write Your Own Review
You're reviewing:Xylem-Bell & Gossett 113100 Readout Valve Set RV125A 2-Pack
Your Rating
Customer Questions
What maintenance is required for the Xylem-Bell & Gossett 113100 Readout Valve Set?

Regularly inspect the valve set for leaks, corrosion, or worn seals. Ensure valves operate smoothly and clean any debris buildup. Periodic tightening of connections helps prevent pressure loss. Always depressurize the system before servicing to ensure safe handling.

What are common issues with the Xylem-Bell & Gossett 113100 Readout Valve Set?

  • Leakage at valve connections or seals.
  • Stiff or difficult valve operation.
  • Inaccurate pressure readings from clogged ports.
  • Corrosion or scale buildup inside valves.
  • Valve not fully opening or closing properly.

Installation Steps

Step 1: Shut down system and isolate pressure completely.

Step 2: Drain line section safely and verify fully depressurized.

Step 3: Position new valve set on test ports securely.

Step 4: Apply thread sealant and hand-tighten fittings evenly.

Step 5: Torque connections to manufacturer specification using a wrench.

Step 6: Reconnect piping and verify proper alignment and support.

Step 7: Slowly pressurize system and check for leaks.

Step 8: Wear PPE and ensure zero pressure before starting work.