Facebook Pixel

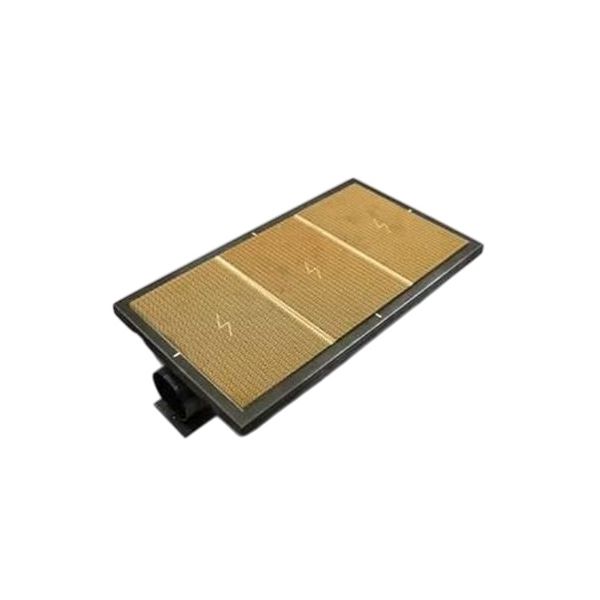
Reznor 112052 Burner Assembly

Special Price $836.77 Regular Price $928.81
In stock
SKU
112052

The Reznor 112052 burner assembly is a key component in specific Reznor heating equipment. It's responsible for creating a controlled flame by mixing fuel and air, generating heat for various applications. This assembly typically includes the burner itself, along with parts like the pilot light, electrodes, and gas valve.

While the exact design might differ depending on the specific Reznor model it's used in, the core function remains the same. The 112052 assembly is commonly found in industrial and commercial HVAC systems, including unit heaters, furnaces, and infrared heaters. These systems rely on the burner's efficient combustion to provide warmth in spaces like warehouses, factories, garages, and even outdoor areas.

Manufacturer:
https://www.partshnc.com/media/catalog/product/1/1/112052.jpg
Manufacturer Name: Reznor
Product Number: 112052
OEM Part Number: 112052
Product Description: Burner Assembly
Weight:8.37lbs/3796.57g

Choose the best HVAC equipment parts and supplies from PartsHnC!

  • Same Day Shipping

  • Best Quality And Best Price

  • Wide Range of Inventory

  • Best Customer Service

Have More Questions or Need Help to Place The Order?
Reach us at (866)773-0907 or [email protected]

Write Your Own Review
You're reviewing:Reznor 112052 Burner Assembly
Your Rating
Customer Questions
What maintenance is required for the Reznor 112052 Burner Assembly?

Regularly inspect the burner for soot, debris, or corrosion. Clean the burner ports and ensure proper alignment of components. Check gas connections for leaks and follow all safety precautions when handling combustible parts.

What are common issues with the Reznor 112052 Burner Assembly?

  • Incomplete combustion causing soot buildup.
  • Ignition failure or delayed lighting.
  • Corrosion or rust on burner surfaces.
  • Gas leaks or loose fittings affecting operation.

Installation Steps

Step 1: Ensure all power and fuel supply are turned off before handling.

Step 2: Remove the old burner assembly carefully, keeping mounting hardware.

Step 3: Position the new burner assembly and align it with the mounting points.

Step 4: Secure the assembly with screws or bolts, ensuring a firm fit.

Step 5: Reconnect any wiring or fuel connections according to specifications.

Step 6: Restore power and fuel supply, then test for proper operation.