
Facebook Pixel

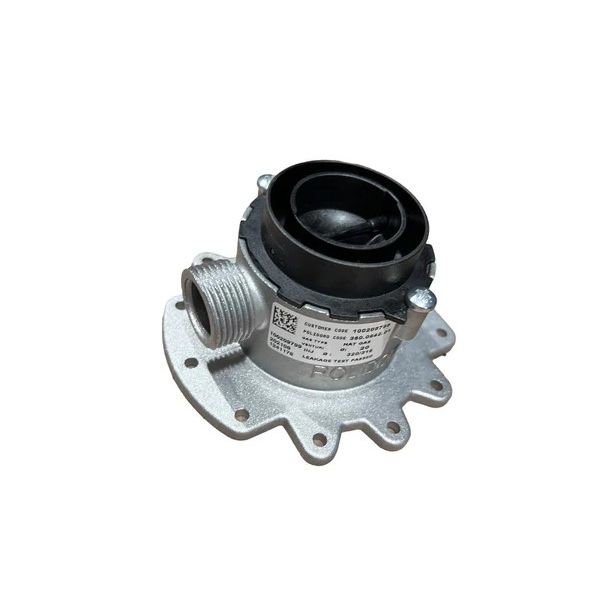
Lochinvar & A.O. Smith 100287143 Natural Gas Venturi W/Gasket

Special Price $124.89 Regular Price $143.62
Out of stock
SKU
100287143
Lochinvar & A.O. Smith 100287143 Natural Gas Venturi with Gasket is an essential component is used in natural gas HVAC systems especially in water heater and boilers. This venturi assembly allows the optimum proportion of air and gas mixture for combustion and efficient working of the heating system. By forming a vacuum, it sucks air making the burning process better, it makes energy saving and minimal emissions. The advantages of this venturi are increased system reliability, increased heating effectiveness, and reduced operating expenses, which make this venturi an indispensable component for providing reliable heating systems in residential and commercial buildings.
https://www.partshnc.com/media/catalog/product/1/0/100287143_1.jpg

Specifications

  • Type: Natural Gas Venturi W/Gasket
    Write Your Own Review
    You're reviewing:Lochinvar & A.O. Smith 100287143 Natural Gas Venturi W/Gasket
    Your Rating
    Customer Questions
    What maintenance is required for the Lochinvar & A.O. Smith 100287143 Gas Venturi?

    Regularly inspect the venturi and gasket for carbon buildup or debris. Clean with a soft brush and ensure proper sealing of the gasket. Check connections for leaks, and follow safety precautions to prevent gas exposure. Proper care ensures efficient gas flow.

    What are common issues with the Lochinvar & A.O. Smith 100287143 Gas Venturi?

    • Gas flow inconsistencies.
    • Soot or carbon buildup reducing efficiency.
    • Leaks around the gasket.
    • Difficulty igniting or maintaining flame.

    Installation Steps

    Step 1: Turn off gas supply and power to appliance; allow system to cool and relieve pressure.

    Step 2: Remove access panel and disconnect old venturi assembly carefully.

    Step 3: Inspect and clean mating surfaces; ensure no debris in gas line.

    Step 4: Install new venturi with gasket, aligning correctly and tightening securely.

    Step 5: Reconnect components and restore panel.

    Step 6: Turn gas on, check for leaks using soapy water.