Facebook Pixel

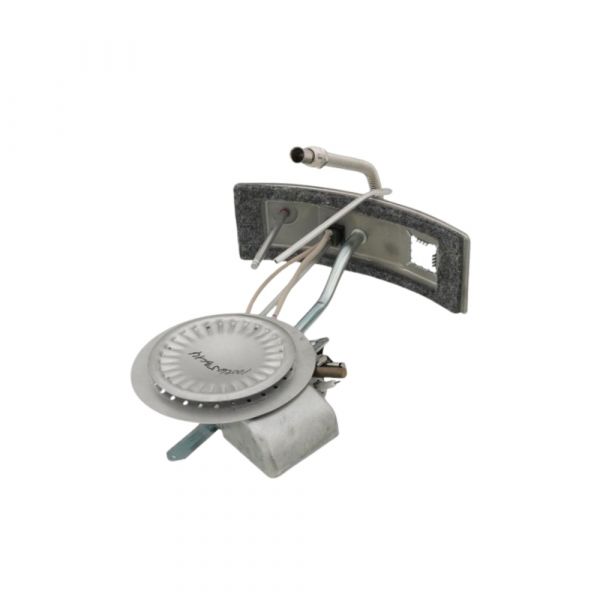
Lochinvar & A.O. Smith 100187927 Natural Gas Burner Assembly 34 PSI 20" ORF

Special Price $151.65 Regular Price $174.40
Out of stock
SKU
100187927
The Lochinvar & A.O. Smith 100187927 Natural Gas Burner Assembly, a high efficiency part that is designed for use in many different types of HVAC systems, but most commonly used in water heaters and boilers. This burner assembly has been designed to burn natural gas to heat fuel with a high level of reliability for home and commercial use. The benefits include efficiency and cost reduction factors concerning energy usage together with enhanced safety features to serve its suitability in enhancing heating systems and providing constant hot water supply.
https://www.partshnc.com/media/catalog/product/1/0/100187927.jpg

Specifications

  • Type: Burner Assembly
  • Fuel: Natural Gas
  • Size: 20"
  • Orifice Size: #34
Manufacturer Name: Lochinvar & A.O. Smith
Product Number: 100187927
OEM Part Number: 100187927
Product Description: Nat 20" Burner Assy #34 Orf
Weight:2.71lbs/1229.23g

Choose the best HVAC equipment parts and supplies from PartsHnC!

  • Same Day Shipping

  • Best Quality And Best Price

  • Wide Range of Inventory

  • Best Customer Service

Have More Questions or Need Help to Place The Order?
Reach us at (866)773-0907 or [email protected]

Write Your Own Review
You're reviewing:Lochinvar & A.O. Smith 100187927 Natural Gas Burner Assembly 34 PSI 20" ORF
Your Rating
Customer Questions
What maintenance is required for the Lochinvar & A.O. Smith 100187927 Burner Assembly?

Inspect burner ports regularly for debris and carbon buildup. Clean gently to maintain efficient combustion and stable flame. Check gas connections and seals for leaks periodically. Follow manufacturer safety guidelines during all servicing operations.

What are common issues with the Lochinvar & A.O. Smith 100187927 Burner Assembly?

  • Flame instability due to clogged burner ports.
  • Delayed ignition or failure to ignite.
  • Uneven heating caused by gas pressure variation.
  • Reduced efficiency from debris buildup in assembly.
  • Gas flow restriction leading to Low performance.

Installation Steps

Step 1: Turn off gas supply and electrical power, allow unit to cool completely before servicing.

Step 2: Remove access panel and disconnect old burner assembly and gas line fittings.

Step 3: Position new burner assembly, ensuring proper alignment with mounting brackets and orifice connection.

Step 4: Reconnect gas line securely; check for leaks using approved leak detection solution.

Step 5: Restore power and gas, then ignite system and verify stable flame operation.