
Facebook Pixel

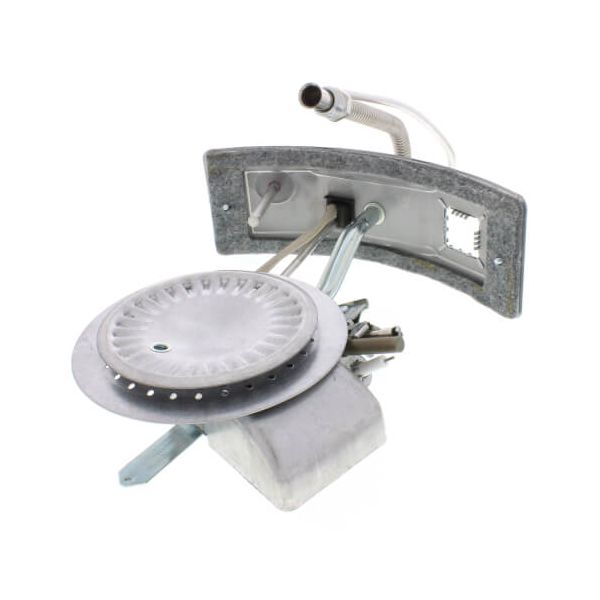
Lochinvar & A.O. Smith 100187919 16" Natural Gas Burner Assembly Kit Orifices-37

Special Price $178.13 Regular Price $204.85
In stock
SKU
100187919
The Lochinvar & A.O. Smith 100187919 is a 16" Natural Gas Burner Assembly Kit with Orifices 37, a high-quality replacement part for water heaters and boilers. It guarantees efficient natural gas combustion to give reliable heat output. To keep your Lochinvar or A.O. Smith HVAC equipment running at peak level, you need this assembly kit. The benefits of capability include an increase in energy efficiency; lessened emissions; and extended equipment service life. This type of water heater will provide accurate orifices and safe as well as consistent heating for both residential and commercial water heating systems.
https://www.partshnc.com/media/catalog/product/1/0/100187919_lochinvar--a.o.-smith_partshnc.jpg

Specifications

  • Type: Natural Gas Burner Assembly Kit
  • Orfices: 37
  • Size:16"
Manufacturer Name: Lochinvar & A.O. Smith
Product Number: 100187919
OEM Part Number: 100187919
Product Description: Nat 16" Burner Assy #37 Orf
Weight:2.74lbs/1242.84g

Choose the best HVAC equipment parts and supplies from PartsHnC!

  • Same Day Shipping

  • Best Quality And Best Price

  • Wide Range of Inventory

  • Best Customer Service

Have More Questions or Need Help to Place The Order?
Reach us at (866)773-0907 or [email protected]

Write Your Own Review
You're reviewing:Lochinvar & A.O. Smith 100187919 16" Natural Gas Burner Assembly Kit Orifices-37
Your Rating
Customer Questions
What maintenance is required for the Lochinvar & A.O. Smith 100187919 Burner Assembly Kit?

Regularly inspect and clean burner and orifices to prevent soot and clogging. Check gas connections and ignition performance for safe combustion. Schedule periodic commercial servicing to ensure efficient operation and safety.

What are common issues with the Lochinvar & A.O. Smith 100187919 Burner Assembly Kit?

  • Uneven or weak flame causing inconsistent heating.
  • Clogged burner orifices reducing gas flow efficiency.
  • Ignition failure or delayed start-up during operation.
  • Gas odor or leakage symptoms around connections.
  • Soot buildup affecting combustion stability.

Installation Steps

Step 1: Turn off gas supply and electrical power; check the unit is fully cool and depressurized.

Step 2: Remove front access panel and disconnect existing old burner assembly, igniter, and gas manifold carefully.

Step 3: Install new burner assembly into burner tray, ensuring proper alignment with manifold and combustion chamber.

Step 4: Secure mounting hardware and reconnect gas and ignition components tightly without overtightening.

Step 5: Restore gas and power, then perform leak test and ignition sequence.