
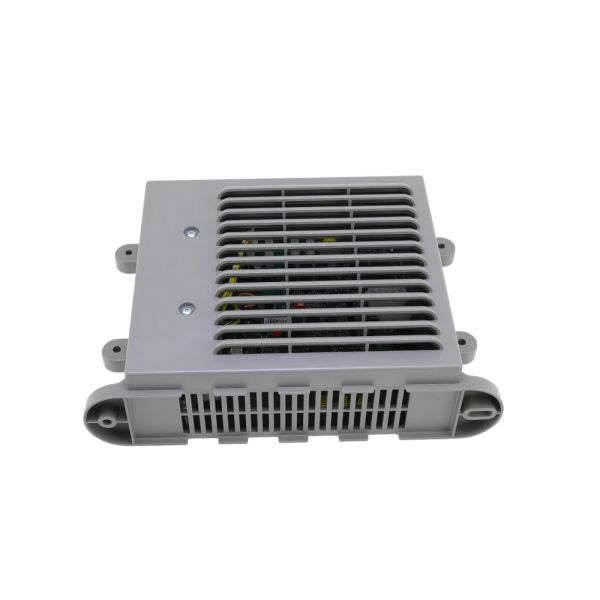
Lochinvar & A.O. Smith 100112614 Combined Controller
Specifications
- Type: Combined Controller
Loyalty ProgramProduct Overview:
Coordinating equipment functions requires a controller that manages connected operating components through a centralized control arrangement. The 100112614 Combined Controller brings multiple control functions together within a single assembly to support designated equipment operations. Designed as an OEM replacement component, it serves equipment requiring this specific combined controller configuration.
Integrated Control Operation:
The combined controller provides a centralized arrangement for coordinating designated equipment functions. By bringing multiple control operations together in one assembly, it supports the equipment's intended operating sequence and coordinated system response.
Electronic Control Management
The controller provides an integrated electronic control interface for the associated water heater. Correct operation depends on compatibility with the equipment's wiring, sensors, and other control components.
Replacement Guidelines:
The Lochinvar & A.O. Smith 100112614 may require replacement if the water heater experiences persistent control faults, fails to operate correctly, or the controller no longer responds to system inputs. A qualified commercial water-heater technician should inspect the electrical connections, gas supply, sensors, safety devices, and associated wiring before determining whether the controller needs replacement.
Common Failure Symptoms:
Equipment Compatibility:
The 100112614 Combined Controller serves as an OEM replacement component for designated Lochinvar and A.O. Smith equipment requiring this controller assembly. Before purchasing, compare the existing controller's part number, wiring connections, connector arrangement, and equipment requirements with the replacement specifications to help determine whether it is suitable for the intended application.
Technical Specifications:
Part Number: 100112614
Brand: Lochinvar & A.O. Smith
Component Type: Combined Controller
Step 1: Disconnect power and shut off gas/water supply, confirming unit is fully de-energized.
Step 2: Open control panel and note all wiring connections before removal.
Step 3: Remove old controller and mount the new unit securely in the same position.
Step 4: Reconnect wiring exactly per diagram, ensuring tight, correct terminal placement.
Step 5: Restore power and configure initial settings per manufacturer instructions.
Step 6: Test full system operation, checking safe ignition, sensor response, and normal cycling.