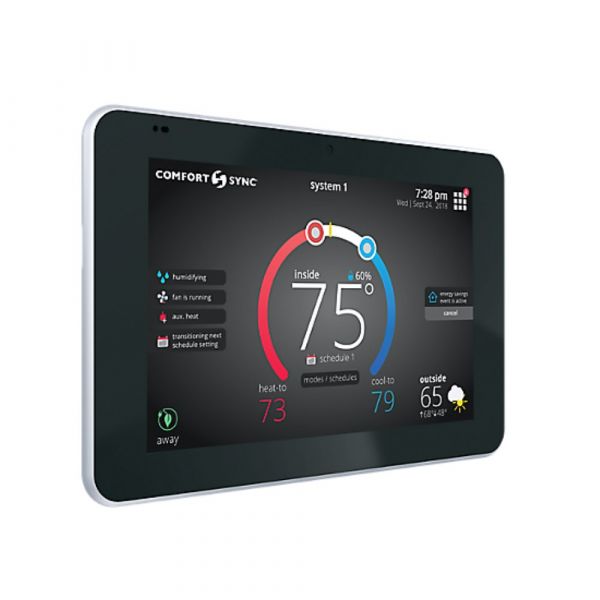
Armstrong Furnace 1.841226 WiFi Thermostat Comfort Sync A3
Specifications
- Type: WiFi Thermostat
- Model: Comfort Sync A3
Loyalty ProgramProduct Overview:
Central climate systems require precise management to maintain indoor environment conditions and energy efficiency. The Armstrong Furnace 1.841226 WiFi Thermostat Comfort Sync A3 is a genuine OEM communicating control unit engineered to manage HVAC system operation. It interfaces with compatible equipment to regulate temperature, monitor humidity, and manage system schedules via a HD touchscreen or mobile app.
Operational Principles:
The thermostat uses digital microprocessors to exchange continuous signals with compatible control boards. It evaluates ambient temperature, humidity, and setpoints to regulate multi-stage or variable-capacity heating and cooling cycles. Integrated Wi-Fi connectivity processes remote signals to adjust settings based on app inputs or geofencing.
Replacement Guidelines:
Replace Armstrong part number 1.841226 when the existing control experiences touchscreen failure, communication loss, or power issues. Always disconnect main electrical power to the HVAC system before accessing wiring. This replacement should be performed by a qualified technician to ensure correct wiring and system configuration.
Common Failure Symptoms:
Equipment Compatibility:
The Armstrong Furnace 1.841226 thermostat is designed for use with Armstrong Air and Allied Air communicating HVAC systems, including compatible gas furnaces, heat pumps, air handlers, and air conditioners. Always verify the model number of your product with the official equipment documentation to confirm system compatibility before installation.
Technical Specifications:
Brand: Armstrong Air
Part Number: 1.841226
Product Type: Communicating Wi-Fi Smart Thermostat
OEM Status: Genuine OEM
Display Type: 7-inch HD LCD Touchscreen
Connectivity: Wi-Fi Remote Access
Step 1: Turn off the power at breaker and verify no voltage for safety before starting installation.
Step 2: Remove old thermostat, labeling wires.
Step 3: Mount new thermostat base level on wall and pull wires through.
Step 4: Connect wiring to matching terminals per manual diagram.
Step 5: Attach display, restore power, and connect to WiFi setup.
Step 6: Test heating/cooling modes and calibrate settings fully.