
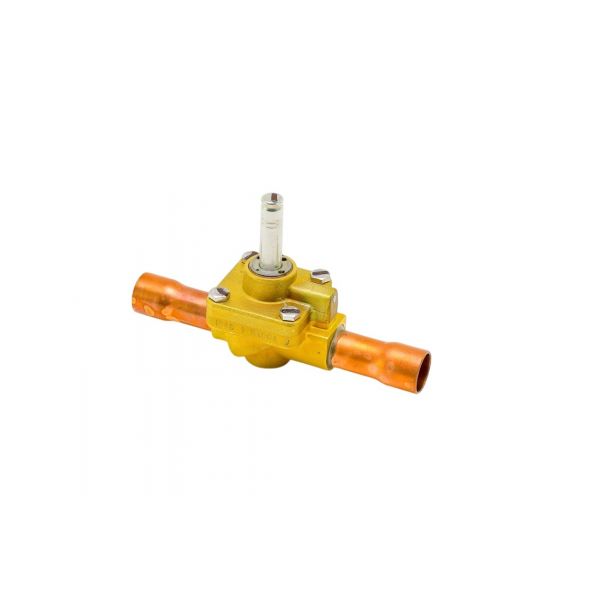
Emerson Flow Control (Alco) 060395 2-Way N/O Solenoid Valve 7/8" Sweat
Special Price $247.11 Regular Price $274.29
In stock
SKU
060395

The Emerson Flow Control (Alco) 060395 2-Way Normally Opened Solenoid Valve is an essential part of HVAC systems. This 7/8” SWEAT valve is easy to install and it regulates the refrigerant or other fluids in the system. In contrast to solenoid valves, it runs mechanically, reducing the likelihood of electrical failures, and improving the equipment's dependability. This also makes it easy to maintain on the operating. This valve is applied extensively in retrofit with residential and commercial air conditioners, heat pumps, and refrigeration systems, so it contributes positively to the system's performance and efficiency.

Specifications
- Type: Solenoid Valve
- Connection Size: 7/8"
- Type: Sweat
- Auxiliary Contacts: Normally Open
- Valve Type: 2-Way