Facebook Pixel

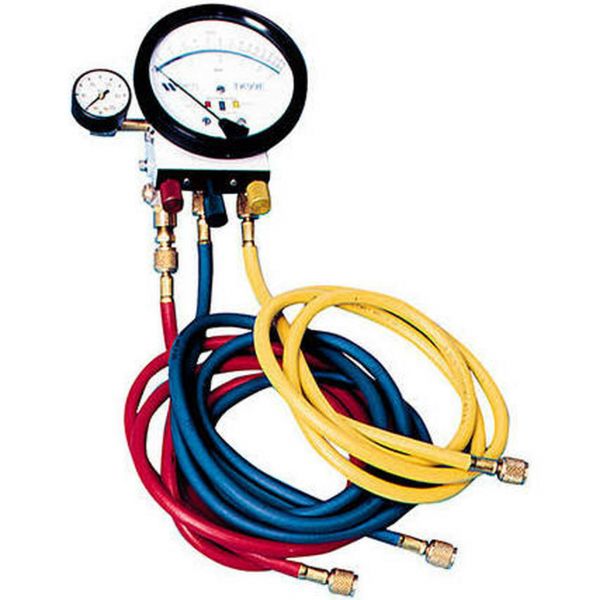
Watts 0385511 Analog Test Kit TK-99E

Special Price $5,659.61 Regular Price $6,282.17
In stock
SKU
0385511

The Watts 0385511 Analog Test Kit Tk-99E is an essential diagnostic tool for HVAC experts, allowing for exact examination of system components to guarantee maximum operation. This kit, which uses a 120-volt power supply and a double-pole, single-throw  design, allows for complete testing of a variety of HVAC equipment. Technicians use its broad set of gauges, probes, and meters to properly analyze voltage, current, and other vital parameters, speeding up the troubleshooting process and improving overall system efficiency. From recognizing possible problems to performing timely repairs, the Watts 0385511 Analog Test Kit Tk-99E's adaptability and dependability help to increase performance and customer satisfaction in HVAC maintenance and repair projects.

Manufacturer:
https://www.partshnc.com/media/catalog/product/0/3/0385511_watts_partshnc.jpg
Manufacturer Name: Watts
Product Number: 0385511
OEM Part Number: 0385511
Product Description: Analog Test Kit Tk-99E
Weight:8.06lbs/3655.95g

Choose the best HVAC equipment parts and supplies from PartsHnC!

  • Same Day Shipping

  • Best Quality And Best Price

  • Wide Range of Inventory

  • Best Customer Service

Have More Questions or Need Help to Place The Order?
Reach us at (866)773-0907 or [email protected]

Write Your Own Review
You're reviewing:Watts 0385511 Analog Test Kit TK-99E
Your Rating
Customer Questions
What maintenance is required for the Watts 0385511 Analog Test Kit?

Keep the test kit clean and free of dust or debris. Inspect probes and wires for damage or wear before use. Store in a dry, temperature-controlled environment. Proper maintenance ensures accurate measurements and safe operation during testing.

What are common issues with the Watts 0385511 Analog Test Kit?

  • Inaccurate readings or drift.
  • Damaged probes or wires.
  • Loose or worn connector contacts.
  • Mechanical wear on analog components.
  • Display or gauge malfunction.

Installation Steps

Step 1: Turn off the water supply and relieve system pressure before setup.

Step 2: Connect the test hoses to the appropriate ports on the system.

Step 3: Attach gauges securely, ensuring no leaks at connections.

Step 4: Slowly restore water flow and observe readings.

Step 5: Handle equipment carefully and store properly after use to maintain accuracy and safety.