
Facebook Pixel

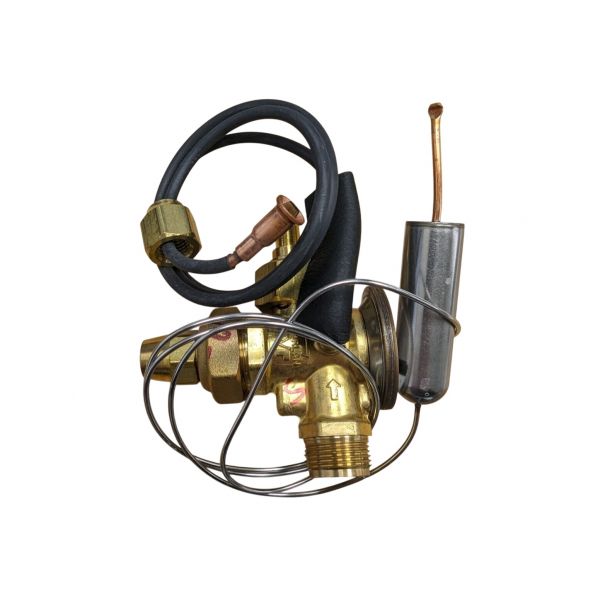
Amana-Goodman 0151R00210S Non-Bleed Thermal Expansion Valve(TXV) Kit 2.5-3 Ton

Special Price $162.68 Regular Price $187.08
In stock
SKU
0151R00210S
The Amana-Goodman 0151R00210S 2.5-3 Ton Non-Bleed Thermal Expansion Valve Kit is an essential part of the Amana-Goodman HVAC system for the regulation of the refrigerant charge air conditioning and heat pump. It is of non-bleed type and provides the option of controlling the refrigerant circulation with regard to the pressure and temperature of the evaporator coil if required. The Amana and Goodman systems for which it is designed enhance the efficiency of the system through reduction of the amount of refrigerant that is wasted and increase in the capacity of the system to cool.
Manufacturer:

https://www.partshnc.com/media/catalog/product/0/1/0151r00210s.jpg

Specifications

  • Type: Non-Bleed Thermal Expansion Valve Kit
  • Capacity: 2.5-3 Ton
Manufacturer Name: Amana-Goodman
Product Number: 0151R00210S
OEM Part Number: 0151R00210S
Product Description: Tgxv-Fx-3Tadj
Weight:1.07lbs/485.34g

Choose the best HVAC equipment parts and supplies from PartsHnC!

  • Same Day Shipping

  • Best Quality And Best Price

  • Wide Range of Inventory

  • Best Customer Service

Have More Questions or Need Help to Place The Order?
Reach us at (866)773-0907 or [email protected]

Write Your Own Review
You're reviewing:Amana-Goodman 0151R00210S Non-Bleed Thermal Expansion Valve(TXV) Kit 2.5-3 Ton
Your Rating
Customer Questions
What maintenance is required for the Amana-Goodman 0151R00210S Thermal Expansion Valve?

Regularly inspect the valve for leaks and debris buildup to ensure smooth operation. Clean surrounding components and check connections for tightness. Proper maintenance prevents performance drops and ensures safe, efficient cooling system operation.

What are common issues with the Amana-Goodman 0151R00210S Thermal Expansion Valve?

  • Sticking or sluggish valve movement.
  • Improper refrigerant flow.
  • Leaks at connection points.
  • Erratic cooling performance or temperature inconsistencies.

Installation Steps

Step 1: Turn off power for safety.

Step 2: Remove old valve and clean coil connections.

Step 3: Install new valve with correct orientation and torque fittings.

Step 4: Mount joints to prevent oxidation.

Step 5: Leak test, evacuate system, and recharge refrigerant to manufacturer specs.