Facebook Pixel

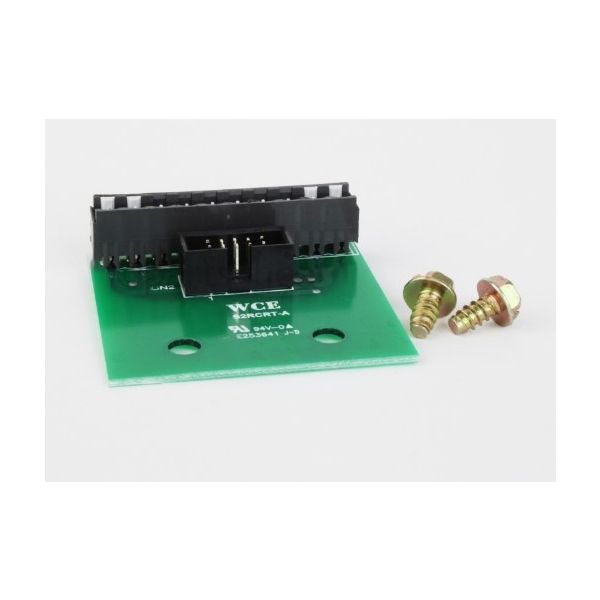
Raypak 014712F Pc Board Adpater Status

Special Price $83.53 Regular Price $96.06
In stock
SKU
014712F
The Raypak 014712F PC Board Adapter Status is an electronic interface module for heaters to connect and communicate between the main control and auxiliary indicator in HVAC systems. It interprets and directs signals that reflect operating conditions, fault codes and system status to be used in diagnostics or displays. This adapter is installed in the control compartment of the heater to ensure compatibility between the control board and the external status indicators. It aids in status reporting of operational state in normal operation.
https://www.partshnc.com/media/catalog/product/0/1/014712f_raypak_partshnc.jpg
Manufacturer Name: Raypak
Product Number: 014712F
OEM Part Number: 014712F
Product Description: Pc Board Adpater Status
Weight:0.21lbs/95.25g

Choose the best HVAC equipment parts and supplies from PartsHnC!

  • Same Day Shipping

  • Best Quality And Best Price

  • Wide Range of Inventory

  • Best Customer Service

Have More Questions or Need Help to Place The Order?
Reach us at (866)773-0907 or [email protected]

Write Your Own Review
You're reviewing:Raypak 014712F Pc Board Adpater Status
Your Rating
Customer Questions
What maintenance is required for the Raypak 014712F PC Board Adapter?

Regularly inspect the board for dust, corrosion, or loose connections. Clean contacts gently and ensure secure mounting. Proper maintenance ensures accurate signal transmission and prevents operational errors. Always disconnect power before servicing electronic components.

What are common issues with the Raypak 014712F PC Board Adapter?

  • Intermittent or failed signal transmission.
  • Corrosion or oxidation on contacts.
  • Loose or damaged wiring.
  • Erratic status readings.

Installation Steps

Step 1: Turn off power at breaker and confirm lockout/tagout for heater safety.

Step 2: Open heater control panel and discharge any residual electrical charge.

Step 3: Remove old board adapter by disconnecting wiring harness carefully.

Step 4: Install new unit, matching terminals exactly to labeled connections.

Step 5: Secure mounting screws and verify all wiring is tight and insulated.

Step 6: Restore power and check status lights/error codes for normal operation.