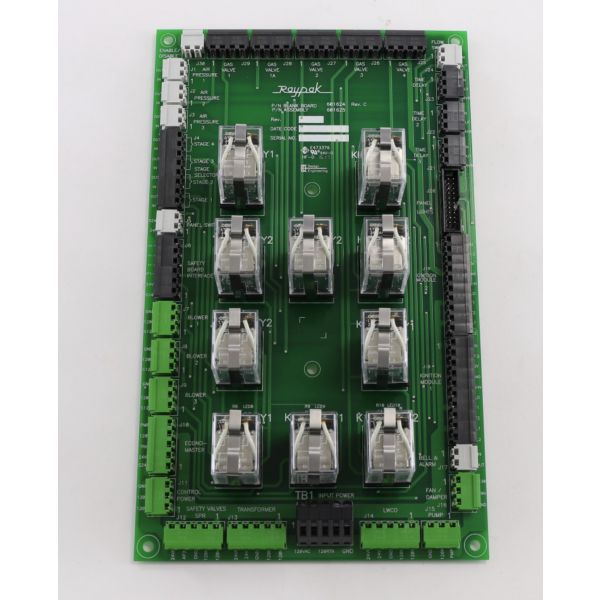
Raypak 007904F Control Board
Special Price $1,165.02 Regular Price $1,293.18
In stock
SKU
007904F

The Raypak 007904F Printed Circuit Board Control Panel Wiring A vital part intended for usage in a variety of heating systems is the Raypak 007904F Control Board. This circuit board serves as the main hub and is essential for regulating and overseeing the heating system's activities. It guarantees dependable and effective operation by controlling temperature, ignition, and safety features. Pool and spa heaters are among the Raypak heating, ventilation, and air conditioning equipment that frequently use the Raypak 007904F Control Board. For both residential and commercial uses, its benefits include accurate temperature control, increased energy economic benefits, and improved safety.
Manufacturer: