Facebook Pixel

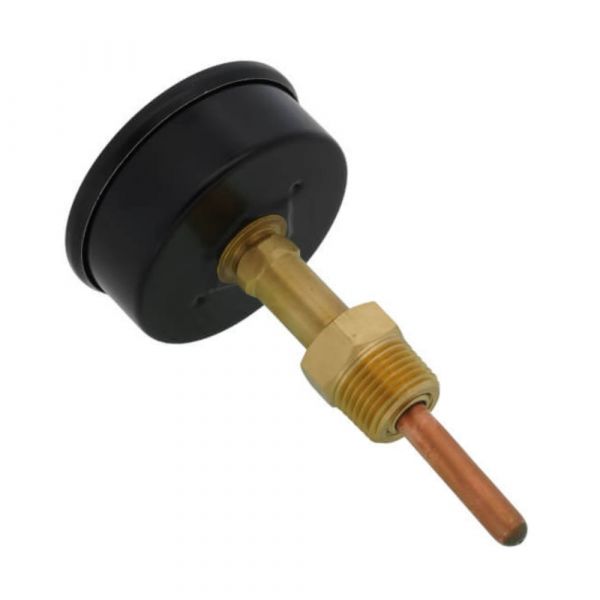
Raypak 007399F Temperature & Pressure Gauge 0-200 PSI 70°F-320°F 1/2" Back

Special Price $77.17 Regular Price $88.75
In stock
SKU
007399F
The Raypak 007399F Tri Gauge is a multi-functional HVAC system part that is used to measure pressure and temperature. It has a pressure of 0/200 PSI and a temperature of 70/320 ° F and is used for monitoring HVAC systems. Due to its 1/2” back connection, it can be easily used in various heating and cooling systems. Found in boilers and heat pumps as well as other HVAC systems, it is used to maintain the efficiency of the system and provide correct readings. The construction is also high-quality and long-lasting, and the tri-function design makes it more efficient than having to use three separate gauges.
Manufacturer:

https://www.partshnc.com/media/catalog/product/0/0/007399f.jpg

Specifications

  • Type: Tri-Gauge
  • Connection Size: 1/2"
  • Pressure Range: 0 - 200 PSI
  • Temperature Range: 70°F - 320°F
  • Mounting: Back
Manufacturer Name: Raypak
Product Number: 007399F
OEM Part Number: 007399F
Product Description: Trigauge0/200# 70/320F 1/2"Bck
Weight:0.42lbs/190.51g

Choose the best HVAC equipment parts and supplies from PartsHnC!

  • Same Day Shipping

  • Best Quality And Best Price

  • Wide Range of Inventory

  • Best Customer Service

Have More Questions or Need Help to Place The Order?
Reach us at (866)773-0907 or [email protected]

Write Your Own Review
You're reviewing:Raypak 007399F Temperature & Pressure Gauge 0-200 PSI 70°F-320°F 1/2" Back
Your Rating
Customer Questions
What maintenance is required for the Raypak 007399F Temperature & Pressure Gauge?

Regularly check the gauge for leaks, cracks, or corrosion. Clean the lens and connections gently to maintain accurate readings. Test periodically to ensure proper pressure and temperature monitoring. Always relieve system pressure before performing maintenance for safety.

What are common issues with the Raypak 007399F Temperature & Pressure Gauge?

  • Inaccurate pressure or temperature readings.
  • Leaks at threaded connections.
  • Cracked or fogged gauge lens.
  • Sticking or slow needle response.

Installation Steps

Step1: Turn off system and relieve pressure before starting.

Step2: Remove old gauge by unscrewing it from the 1/2" port.

Step3: Apply thread sealant or tape to the new gauge threads.

Step4: Screw the new gauge into the port until snug (don’t over‑tighten).

Step5: Restore pressure and check for leaks.

Step6: Follow safety precautions when working with pressurized systems.