
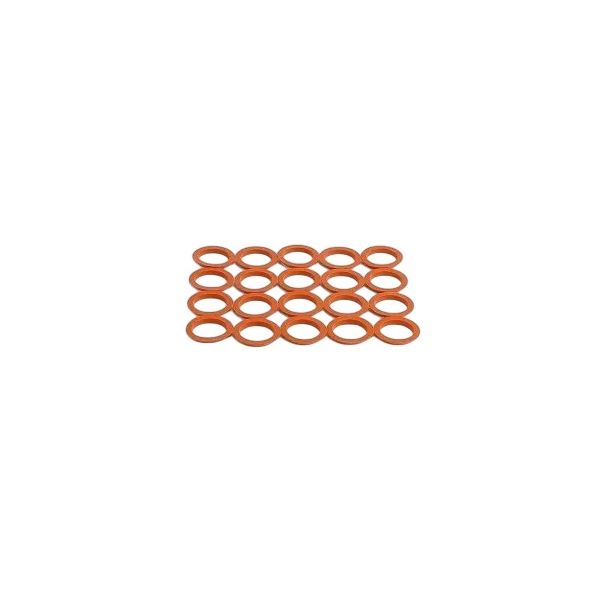
Raypak 007343F Header Gasket-20 Pack
Special Price $71.87 Regular Price $82.65
In stock
SKU
007343F

The Raypak 007343F Header Gasket - 20 Pack is a quality spare part used in heaters and boilers manufactured and it is intended to ensure a tight seal in the header assembly. It is long lasting and ensures that the water flow is not interrupted and that there are no leaks which will help in the efficiency and the longevity of the heating system. It is used for pool heaters and commercial boilers it used the purpose of sealing connections in the header to help the system run efficiently. The pack contains twenty gaskets, which means that it is affordable to use in maintenance and repair services.
Manufacturer:

Specifications
- Type: Header
- Available Packages: 20 Packages